
For Techs

Click Here to view my video:  The Ten Minute Denture Wax Up
Click Here to view my JDT article: Â The All Soft ‘Hallowed’ Bulb Obturator
Click Here to view my PDF: The Luckman Postdam
Click Here to view my PDF: A Simple Technique For Denture IDs
Click Here to view the PDF: Â AirForce Manual – Â Removable and Orthodontic
Click Here to view the PDF: Emory Gate Clasp
Some one shot tips:
AED flasking technique:

Trixa Silicone Putty Model Tip:

Use bubble wrap as your base former and your silicone models are ready to mount. Just enough retention to grab but not lock in so you can take it on and off the mounting plaster
 Top view of a silicone model with an extra ‘suction’ hole for vacuum forming.
Some Tool Tips:
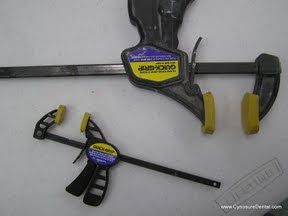
Quick-grip from the hardware store for holding models while glue dries. They have a real small one that I like as it fits in a pressure pot.
Baby bumpers also at the hardware store (Home Depot) for wrist support. It fits over the edge of your bench with only the length needing trimming (they come in 2 of 4 ft lengths I believe)

Document Holder (from Office Depot) They come with a clamp on both ends. I melted one end by mistake so I just cut it off and cured it to my suction unit. Now hands free spotting in… sort of.

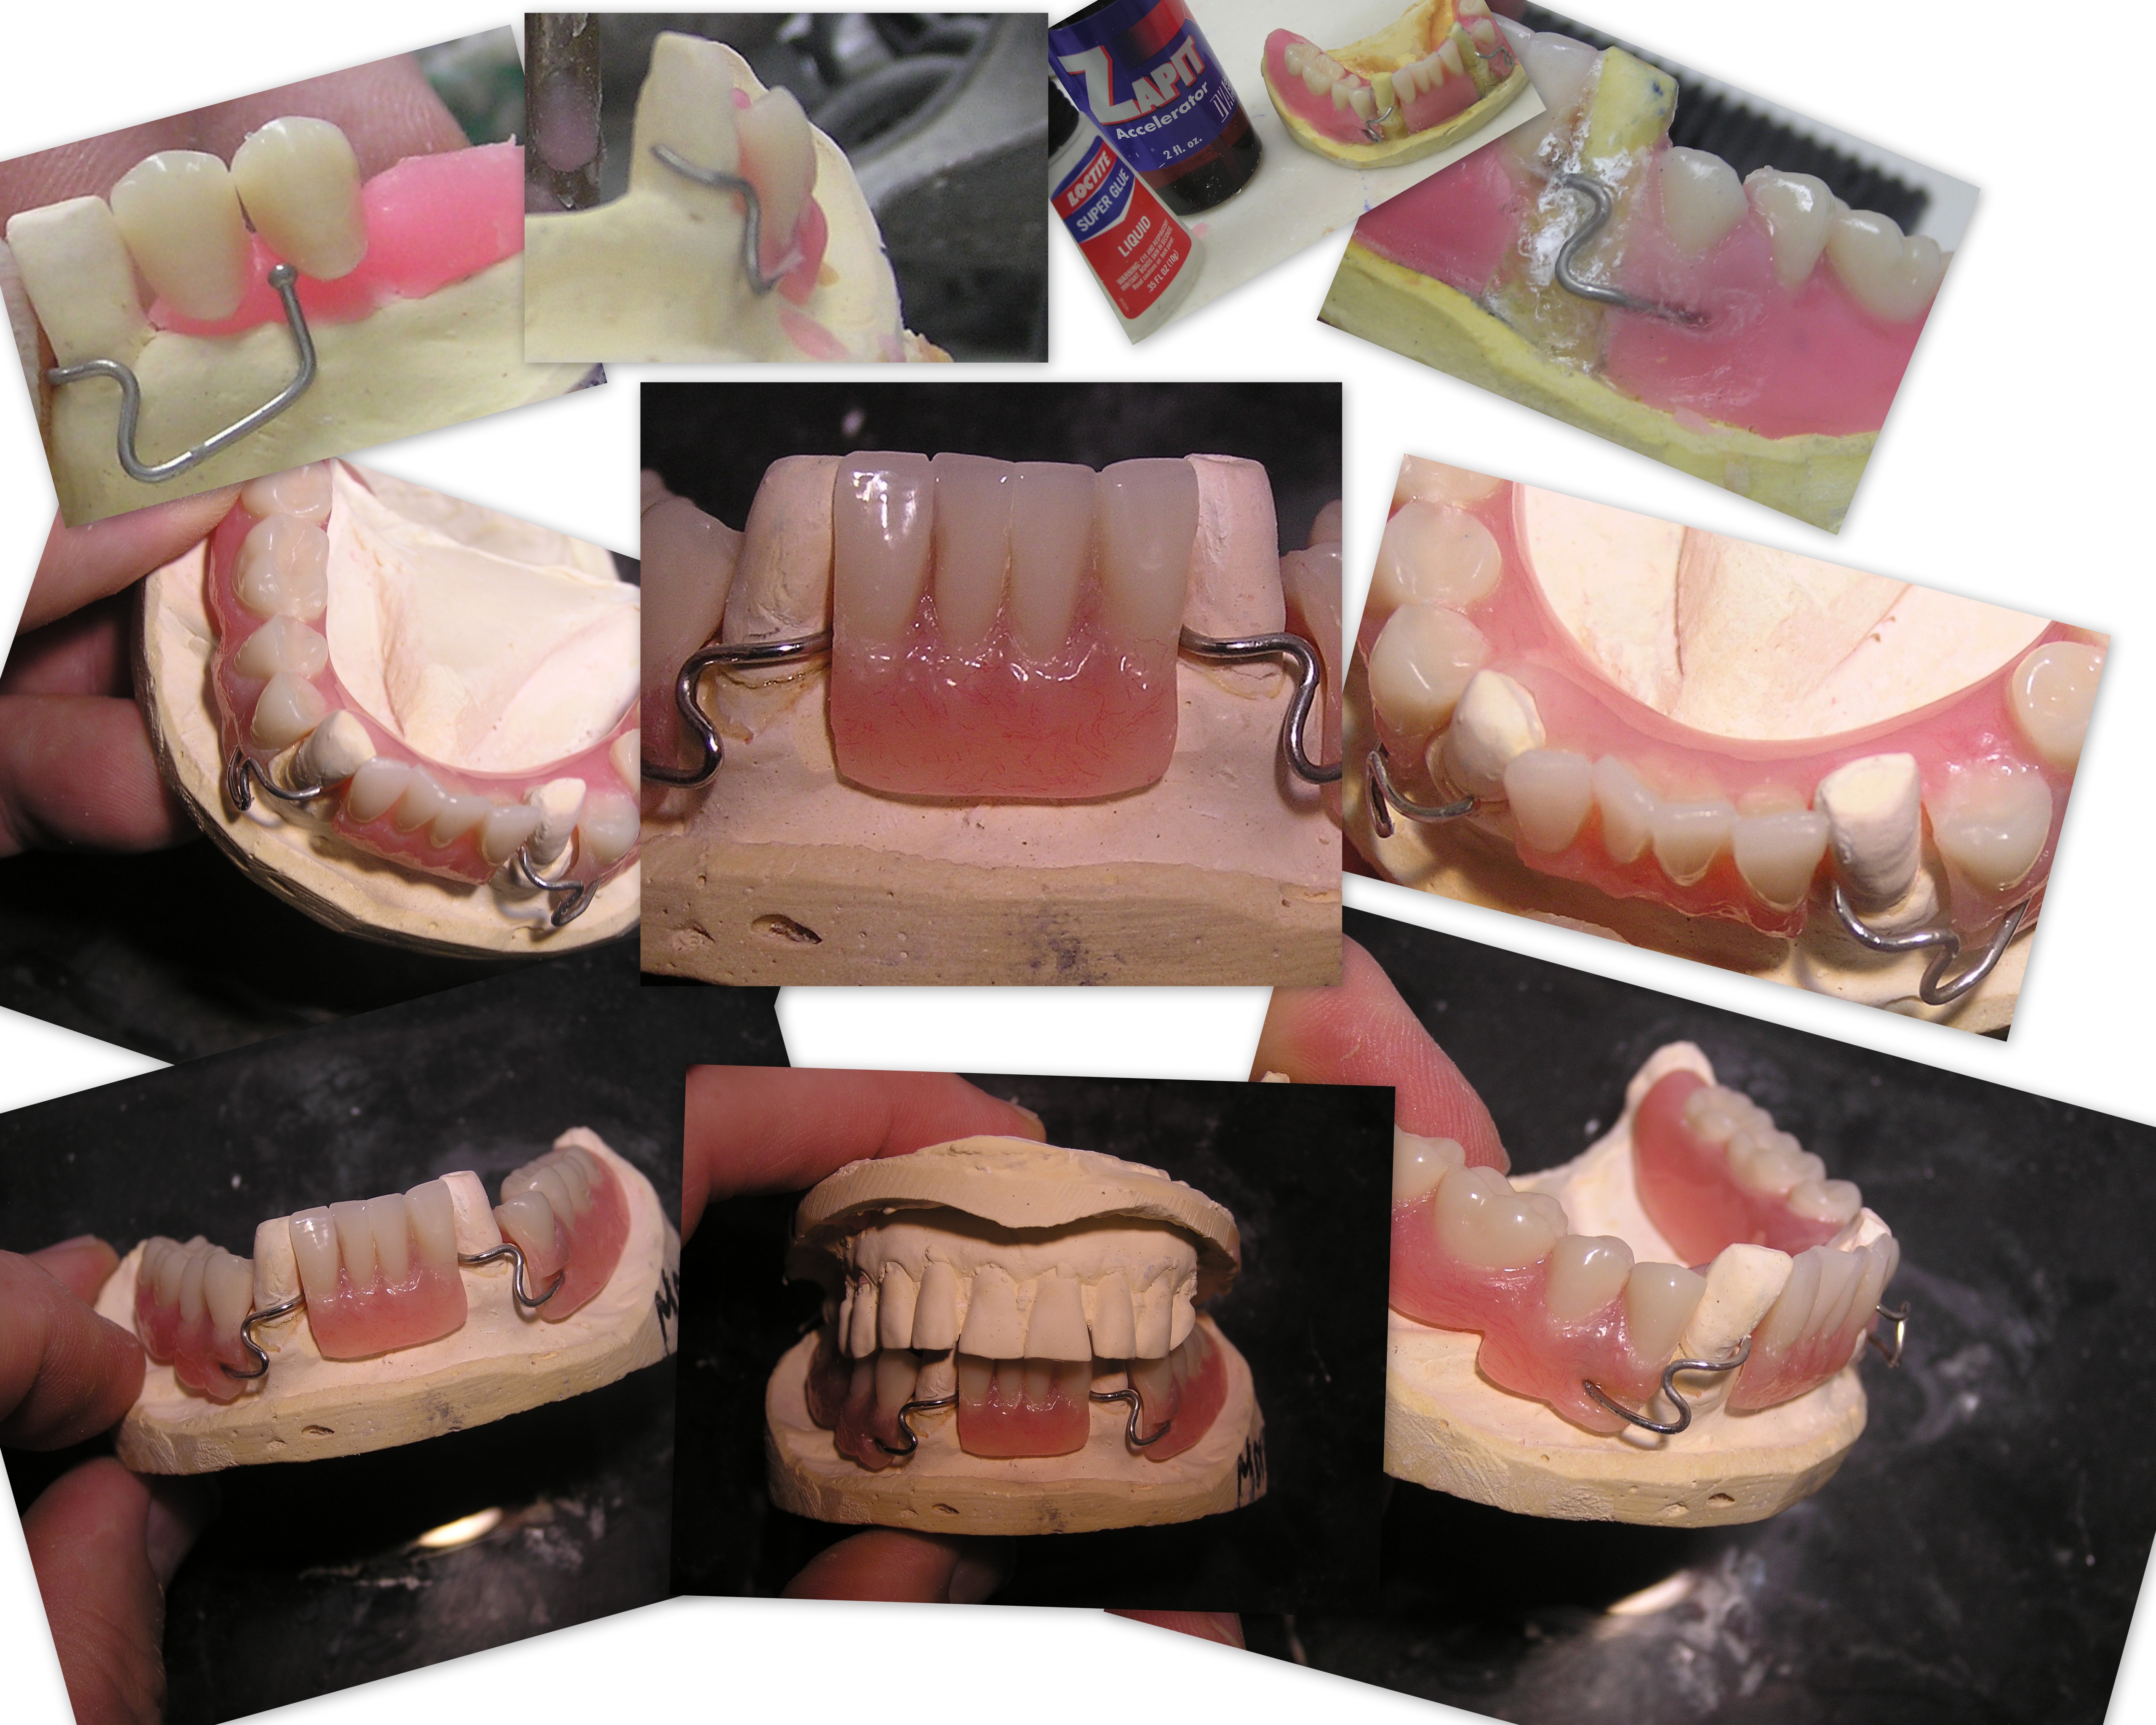
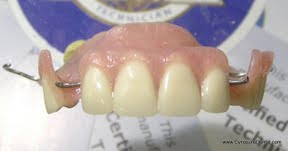
Here’s an acrylic/wire version of the hidden clasp concept:
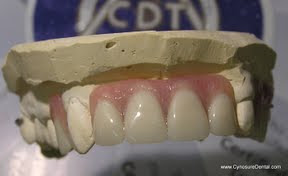
 Simple technique:Leave the clasps about 15 – 20 mm longer so that you have enough to embed in the first layer of your flask and expect it to stay in place during boil out and packing procedure.Block out the clasp where it engages the tooth and as far to the interior as you can to give it room to flex. I use superglue and zap-it to do this. The superglue pops right out after processing leaving a small channel for the clasp to flex into.
After processing cut back the excess clasp and viola… an economy flipperpoise or poor man’s TACH EZ or IC attachment or whatever.